![]()
Marlin Cross-Bolt Safety Replacement Kit
by Jim Taylor
If you are a purist and detest the cross-bolt safety on the new leverguns, for the Marlin's at least there is a quick and easy remedy... a replacement pin that looks as if it is a screw!
It is easy to install, and if you ever want to put the factory safety back in, that is easy to do also.
Remember, disabling ANY safety device not only invalidates the warranty, but it can have other far-reaching consequences. I am not suggesting that you disable the factory cross-bolt safety, I am only sharing what I did on my Marlin leverguns for your information.
| Please
select an image for a larger view
|
|
|
|
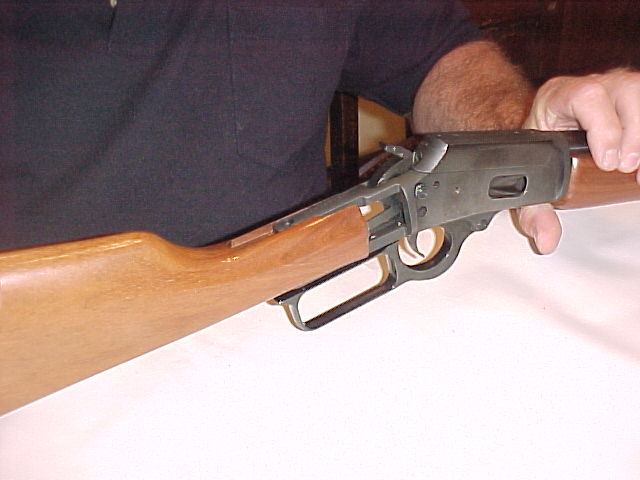
The Marlin cross-bolt safety.... 'nuff said. |
|
|
|
|
All the tools needed to do the
conversion. |
 |
|
|
|
 |
Removing the stock screw |
|
|
|
|
Sliding the stock off |
 |
|
|
|
|
|
There seemed to be some loc-tite in the hole where the set screw is located. |
|
|
|
|
I had to use a special tool to remove
the loc-tite. |
 |
|
|
|
|
|
The Allen wrench is inserted into the set |
|
|
|
|
The set screw is removed. Take care not to lose it. |
 |
|
|
|
 |
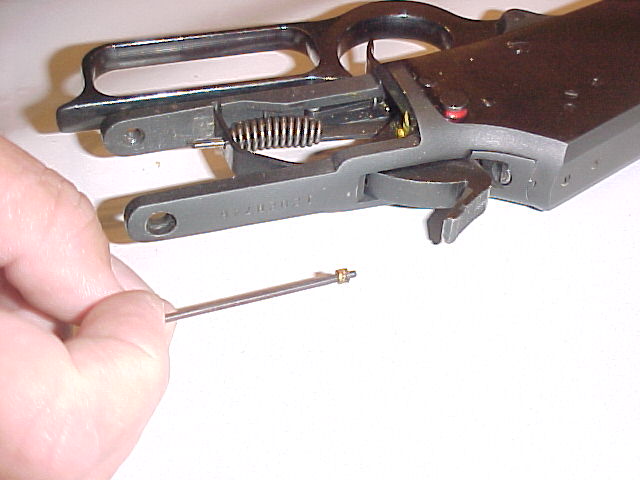
The set screw, spring and ball.
Don't lose |
|
|
|
|
Removing the safety. |
 |
|
|
|
 |
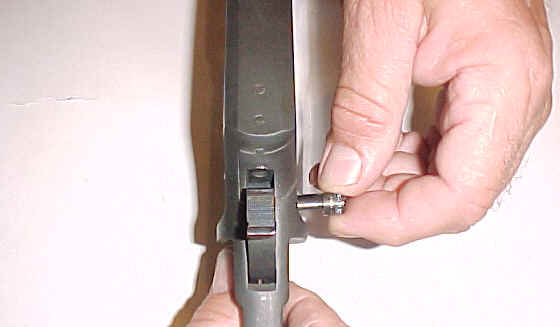
Replacement pin... getting ready to
install. |
|
|
|
|
Sliding the replacement into place. |
 |
|
|
|
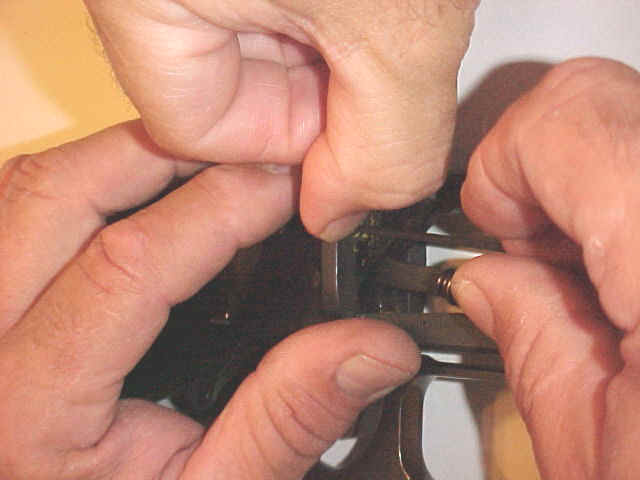 |
It sure helps to be born with 3 hands. |
|
|
|
|
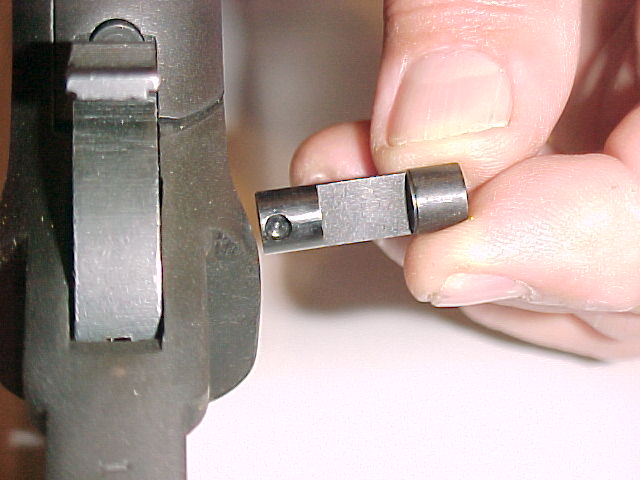
Replacement pin.. looks like a screw. |
 |
|
|
|
 |
The other side of the pin... matches what
is |
|
|
|
|
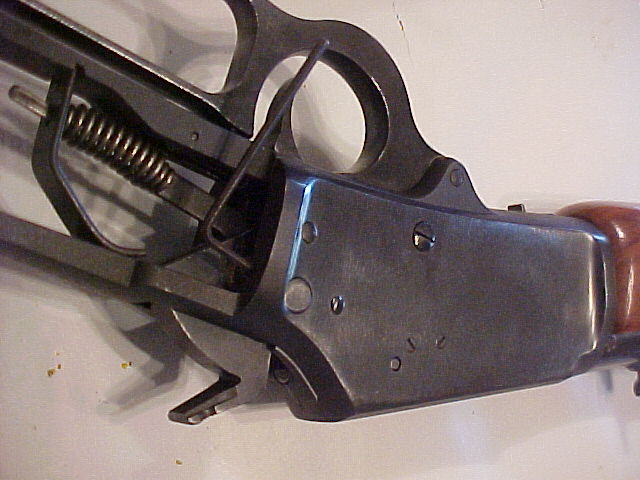
All put back together and ready to go! |
 |
|
|
|
|
This kit completely does away with the cross-bolt safety. |
|


Kits are available from:
Clyde Ludwig
PO Box 26156
Wauwatosa, WI
53226-0156
phone 414-536-1101 after 6:30 PM CST
$9.95 plus $3.00 S&H
(if you order more than one kit, the shipping is still only $3.00)
Thanks to the Miles Fortis Digi-Cam